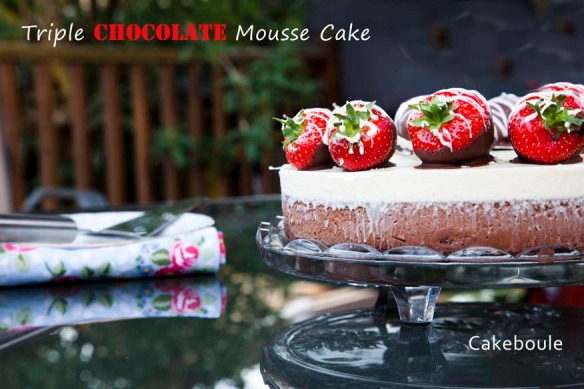
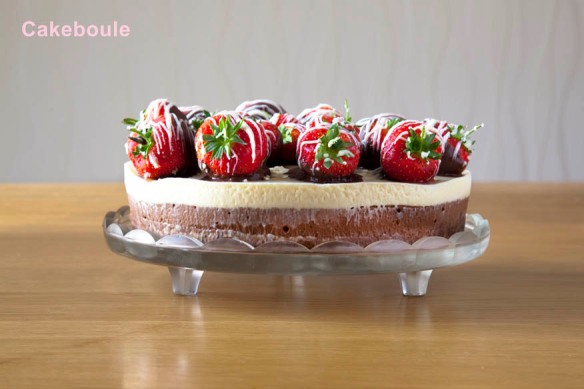
Introducing Pay Day Cake 5 the triple chocolate mousse cake lovingly covered with chocolate covered strawberries. This is probably not an eat in ‘best company’ cake as I find its destruction is accompanied by a loud drawn out satisfied sigh which you won’t realise you’ve made until you feel the heat of others eyes boring into you from all directions (they’re just jealous).  If you are kind enough to make this triple chocolate mousse cake for a special occasion you will find there are few people who can resist the sweet aroma of this celebration cake.
A garden decorated with sparkly disco balls, candles and freshly made pink lemonade jar cocktails greeted my Best Friend for her Birthday. I am now known as the ‘Jar Lady’ which is a step up from the cat lady but only slightly. We had a great evening full of laughs, food and an impromptu random birthday dance that even the village people would have been proud of.
As it turned dark I choose a song on my MP3 player but it randomly played its own choice of ‘It’s a beautiful day’ by U2 which I didn’t even know I had but it summed up the evening. This was topped off with fairly lights that are not designed to twinkle but decided they would for ‘one night only’ in time with the beat for the entire song now how bizarre is that! I have no idea why these odd things keep happening but whoever is watching over me (maybe it’s the man in the photo that was taken of me on my recent holiday post) they obviously saw me having the time of my life and decided to add a bit of magic to an evening with friends that I will truly never forget.
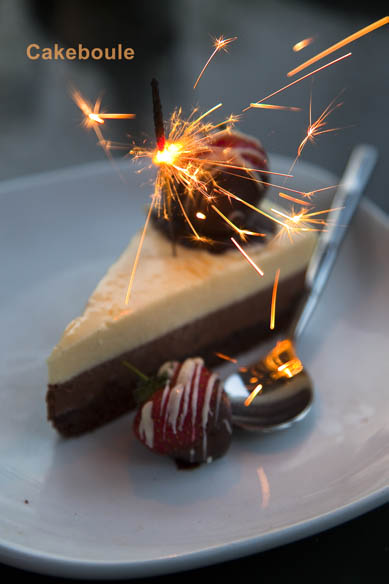
You see the more you watch and pay attention to the World the more messages it gives you. Like it’s OK to have forgotten the candles when you find sparklers in the drawer you forgot you had but they were so much better.
The laws of synchronicity are at work right now as somehow it decided you would stumble upon my little post which means you were destined to be here. No matter how many years later you find this post share a little bit of mousse magic by passing it on to everyone you know and keep the Universe happy.
P.s the moment I pressed save my computer shut it self down of its own accord – this was to tell me to shut up I think – look Frugal Feeding I made it under 500 words whoo hoo albeit without the recipe 🙂
Day 1 – Bake the Cake layer (as in previous mousse cake post this is the second half of the layer)
Ingredients for Base Genesoise Cake Layer
75g plain flour
50g cocoa (good quality) or replace 50g flour for a plain base.
4 eggs at room temperature
125g caster sugar
30g melted butter (left to cool)
Instructions
1. Grease and lightly flour a 20cm round tin
2. Melt the butter in a pan and leave to cool
3. Beat the eggs and suga at a medium speed for 12 minutes until when you lift the whisk attachment out of the mixture falls in ribbons and pools on top of the mixture without disappearing straight away.
4. Sieve the flour and cocoa over the mixture
5. Fold in gently until combined
6. Drizzle in the butter and fold in – do not over fold or the cake will become tough – so when you think it is is nearly there and there are no huge lumps be brave and put it in the oven.
7. Bake in the oven on the middle shelf for 30 minutes
8. Leave to cool for 10 minutes before removing from tin and placing on a wire rack
9. Add 2 tablespoons of raspberry liqueur (Chrombards, Framboise) to 2 tablespoons of caster sugar – heat gently until the sugar is dissolved. Brush liberally over the cake to moisten it. If you prefer you can use a simple sugar syrup which is equal parts sugar to water and you can add a flavouring or substitute with another spirit.
10. Divide the cake into two layers using a long serrated knife.
11. Wrap the cakes in greaseproof paper once cool and wrap in foil. Either store in an airtight container until you need it or put it in the freezer.
Day 2 – Chocolate Mousse (based on Michael Roux – Desserts)
Ingredients
150g chocolate finely chopped
2 sheets leaf gelatin
50ml milk
1 1/2 tsp of liquid glucose
2 egg yolks
150ml whipping cream
30g icing sugar
Instructions
1. Set a bowl over a saucepan which is filled to one-third with water. To the bowl add the chopped white chocolate. Using a low heat wait until the chocolate is half melted and remove from the heat. The chocolate will melt by itself and this reduces the risk of it burning.
2. Soak the gelatin in cold water for 5 minutes. (optional)
3. Heat the milk in small saucepan until boiling point and then remove from the heat.
Squeeze out the water from the gelatin and add it to the milk. Stir gently until the gelatin has dissolved (optional)
4. In another bowl add the egg yolks, liquid glucose and 3 tbsp of warm water. Mix together until combined.
5. Whip the cream and icing sugar in another bowl until the cream leaves ribbon trails when you take the whisk out of the mixture.
6. Pour the hot milk over the white chocolate and gently mix with a whisk until there are no lumps and is it a smooth consistency.
7. Add the egg mixture to the chocolate and mix gently until combined.
8. Using a spatula fold in the cream gently until fully combined.
Assembly (phase 1)
1. Get your original tin that you baked your cake in – place the cake in the bottom (tip: use the bottom layer of the cake as the top layer will be smaller as cakes shrink as they cook). You can use the bottom layer for another cake.
2. Pour the mousse into the tin.
3. Place the tin in the freezer overnight for best results.
Day 3 – White Chocolate Mousse (based on Michael Roux – Desserts)
As above but replace the dark chocolate with white.
Take the cake from the freezer and pour white mousse mixture onto the cake and return to the freezer overnight or leave in the fridge overnight to set if serving the next day. The cake will last for at least one month in the freezer.
Day 4 – Strawberries & Eating!
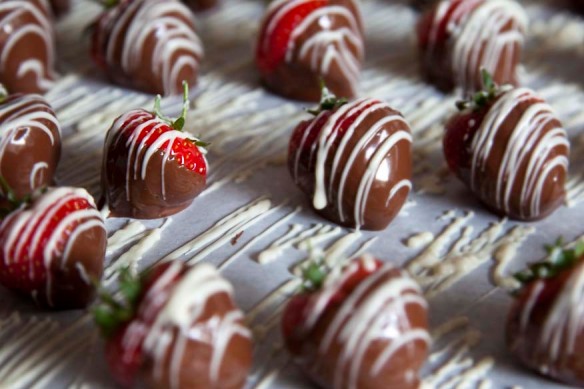
1. Make Chocolate covered strawberries by melting 100g of chocolate in a bowl and dip the strawberries liberally into it. Let the chocolate drip off the excess before placing on a sheet of greaseproof paper to set. Melt some white chocolate (approx 50g) and drizzle over the top on the strawberries once set. Either do this with the back of a spoon or used a mini squeeze bottle.
2. To remove the mousse cake from the tin use a hair dryer or blowtorch to gently heat the tin so that it removes easily. Add the strawberries on top when you are ready to serve or the juices will escape and bleed into the cake. Slice into portions with a warm knife (cleaning after each slice).
Enjoy!


