Gooey Popcorn Bars (Gluten Free)


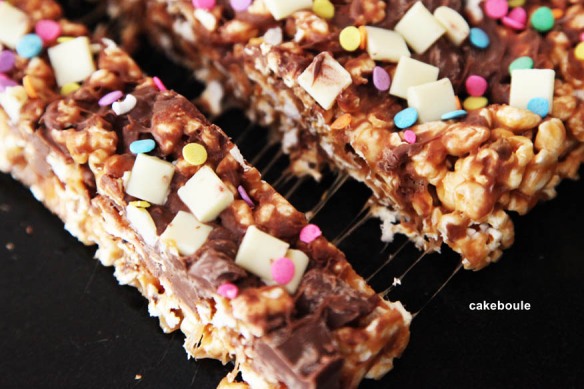
Say sod it and call a movie night with a gooey, toffee, marshmallow and chocolate covered popcorn bar in hand.  Seek pleasure watching the silky caramel strands form as you pull the bars apart. This is a quick tray bake but with no baking (bonus!) but guaranteed to brighten up the dull and miserable summer we are having and great for big kids parties.

Popcorn Bars

I have never made popcorn before and I was more than a little bit excited when I saw fluffy white clouds pinging around my saucepan. Truthfully I was that excited I had to call the entire family to watch a miracle in the pan. If you have never made popcorn before then you truly have not lived.

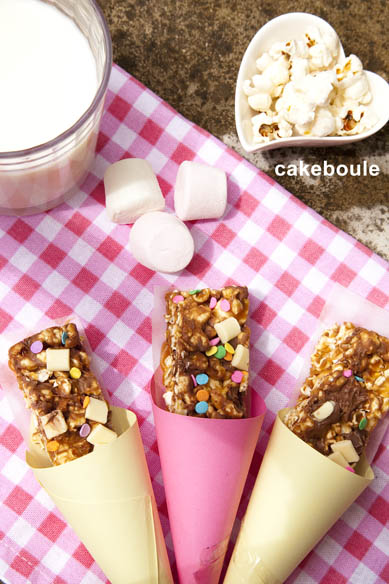
Popcorn Bars

This recipe is an adaptation of my toffee crispie treats. After spending days discussing films set in New York with a friend I am now eager to sit down with one of these next week watching chick flicks to my hearts content so go on let it rain see if I care.

Popcorn bars

Of course you can top them with anything you like as this is an easily adapted recipe. I like the idea of twix or malteaser topppings or give it blast with some popping candy a la Heston style.

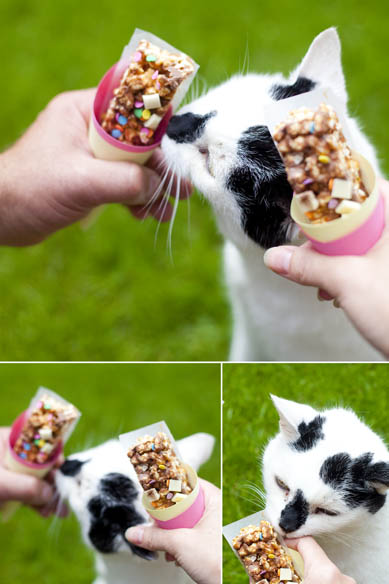
Popcorn BarsThe cat loved them too as he sauntered into the photograph, sniffed and then bit my finger!

Popcorn Bars

Enjoy!

Ingredients

250g toffees (Sainsbury’s Basics)
50g butter (room temperature)
3 tbsp of milk
1 tbsp of golden syrup
115g marshmallows
80g popped popcorn

Instructions

1. Brush your a 20cm square tin (or other suitable) with baking spray or oil and wipe with a kitchen towel to make sure it is not too oily.
2. Add toffee, golden syrup, butter and milk into a saucepan and heat gently.  Stir the mixture as it heats until all the ingredients have melted.
3. Add marshmallows and stir until they have melted.
4. Add the popcorn to the pan and make sure it is well coated with the toffee mixture
5. Pour quickly into prepared tin and flatten it down well with the back of a wet wooden spoon.  Add whatever toppings you fancy by pushing them down gently into the mixture so they set into to it.
6. Leave to set (about an hour) and cut into sizes required and eat (one is not enough) they will keep for about 5 days if they get that long in an air tight container. Do not place in the fridge or the pocorn will go soft.

Up next – Pay Day Cake 6 time!!!! (see previous here)

I am entering this into the Teatime treat competition hosted by the talented Karen from Lavender and Lovage and the theme this month is cake stall cakes and I think this will fit quite nicely.

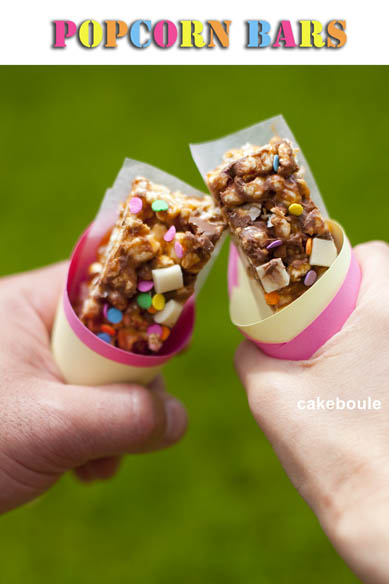
6 steps to Toffee Crispie Heaven (Gluten Free)


Last week (before I got sick and no these were not the cause!) I needed a quick lunch box filler that would cheer up a dreary Monday and these little cripsy bites definitely hit the sticky toffee spot.  I know we all have done rice cripy cakes but these are by far the best I have found and baking does not always have to be labour intensive.  When I offered them to people at first they just looked intrigued and then nibbled the top followed by:

‘?@??@??” echoes the expletives through the room and then silence as they paused to eye up the next bite with the same zeal found in a jelly baby head biter.

‘@@##?? they’re good!’ the muffled sound that tries to come out through stuck together toffee teeth. Random bits of rice cripsy fly in all directions and I take cover.

‘nom nom nom’ teeth nashing sounds make me wince as I pray they are not going to bite their fingers by accident.

When fingers become disguised
I think this is because I have had one too many finger biting incidents.  This is where my finger takes on a chameleon appearance cunningly camouflaging itself as something tasty but suddenly returning to its normal pink fingerish self but with the addition of pulsating teeth marks.  I scream out ‘oowwwww’ and shake my hand around desperately as if it will shake the teeth marks out and then I blow on it event though it’s not burnt>  Yes I know it is not going to make it better but it at least I am in control again and not the stupid ‘bit my own finger idiot’.  I wonder if this is why there is a lone wandering hand in the Addams Family as someone got a bit over zealous with a toffee crisp and bit the entire thing off either that or I have been scarred for life by my Dad’s favourite tea time program of which I can still hum the theme tune (thanks Dad as I know you are reading this x).

These treat size bites remind me of toffee crisp bars we used to get years ago and I loved them but nobody seems to do them anymore but now I can have them anytime I want (mwoahhhh ha ha ha – sorry been stuck in bed for days bit excited to be finally up).

These use only 6 ingredients and take six little steps to make and who knew wine glasses could come in in so handy for measuring!  All you need is baking love: butter, rice crispies / pops,  marshmallows, toffee and milk and then you are in chewy toffee heaven. They are moist, sticky and full of marshmallowy toffee which loves to attach its self to your teeth but this my family tells me is an added bonus as it allows them to savour the taste again later without gettng caught eating in class – personally I think one more tablespoon of milk would sort that out.

This is now one of my firm favourites for lunch boxes or anytime I need to get sworn at or dodge rice cripie missiles followed by silence.  I dipped the base in melted Toblerone and drizzled the top with chocolate.  You don’t need expensive ingredients I used the basic / value range of everything except the Toblerone (leftover from Christmas) so these really are a frugal baking thrill.

I found the original recipe here from the Nigella website posted by Lindz and adapted it only slightly:  If you do want to make them gluten free do check the ingredients on your toffees and marshmallows and use nestle chocolate instead as this is gluten free.

Ingredients

250g Toffees (Sainsbury’s Basics)
50g Butter (room temperature)
3 tbsp of milk
1 tbsp of golden syrup
115g Marshmallows
175g Rice Crispies or similar cereal

Instructions

1. Brush your desired tin or mould with baking spray or oil and wipe with a kitchen towel to make sure it is not too oily.  If you use silicone moulds always brush them lightly with cake release spray and then wipe off the excess with a kitchen towel even for cakes, choclates etc then your crispy treats will fly out of the moulds unlike one born every minute.
2. Add toffee, golden syrup, butter and milk into a saucepan and heat gently.  Stir the mixture as it heats until all the ingredients have melted.
3. Add marshmallows and stir until they have melted.

4. Add the cereal to the pan and make sure it is all well coated with the toffee mixture

5. Pour quickly into the tin or mould and level (it will stick to everything in my experience leaving wispy marshmallow strands everywhere)

6. Leave to set (about an hour) and drizzle with what ever chocolate you fancy but they are just as nice without too. Cut into sizes required and eat (one is not enough) they will keep for about 5 days if they get that long in an air tight container.